Day 11: Banana Bread

An oldie but a goodie! A friend of mine suggested I make banana bread, and well its just darn tasty.

I mixed all the dry ingredients, then the wet and combined them together. Of course substituted regular flour for spelt flour, and 1/4 of the teaspoon of vanilla extract for almond extract. Short, post because I need sleep!

Here’s the recipe: http://www.scrambledchefs.com/perfect-banana-bread/

Day 10: Peach popsicles

We have made it to days with double digits! Woot!

I know this summer has been somewhat anti-climatic weather wise but nonetheless I have been constantly craving refreshing smoothies, juice, and frozen deliciousness. What better way to celebrate Monday then Peach popsicles.

I cut up and blended 6 peaches (which I discovered that halving this recipe will fill your popsicle molds with a little extra, not a LOT), 1 cup coconut milk and 1/4 to 1/2 cup of honey. I eye balled the honey, it just depends on how sweet you want them. Then poured the mixture into popsicle molds to set for 6 hours. I have so much left over mixture I have to figure out what to do with.

Here’s the recipe: http://www.the36thavenue.com/coconut-peach-creamy-popsicles/

Day 9: Vanilla Ice Cream

My boyfriend bought an ice cream maker at a garage sale a few weeks ago and has been begging me to make ice cream ever since. I finally got around to it this weekend!

IMG_5151

Last night I made the mixture and probably picked one of the more complex recipes. I’m sure there is a lot easier ways to make ice cream, but my oh my was this delicious.

I whisked together 3 cups whole milk, 2 cups heavy cream, 1/2 cup sugar, 1/4 teaspoon salt, and about 1 and a half teaspoons of vanilla extract (since I didn’t have a vanilla bean). Put the combo over medium heat for about 4 minutes, stirred constantly, waiting for the sugar to dissolve and milk mixture to become hot. I poured one cup at a time of the liquid into the 5 egg yolks, throughly whisking. Then put the mix back onto the stove over medium heat, whisking constantly for around 10 minutes.

I stored the mix in the fridge overnight and put in the ice cream maker this morning and churn for about 5 minutes and an hour later was left with some damn good ice cream!!IMG_3237

Heres the recipe:

http://www.countryliving.com/food-drinks/recipes/a5467/classic-vanilla-ice-cream-recipe-clx0614/

Day 8: Frozen Yogurt Bark

I made this tasty healthier frozen treat! Perfect for those summer days that you really want to eat something sweet and refreshing but not pack on the calories. I used plain yogurt and not greek, mostly because I didn’t realize the recipe called for greek.

This was so incredible simple as well. I will certainly be making this in the future. 🙂

I mixed 2 cups plain nonfat yogurt with 2 tablespoons of honey and spread out on a baking sheet lined with waxed paper. Then I sprinkled on my favorite fresh fruit lying around the house, which just happened to be kiwi and pineapple and added walnuts on top.

I stuck the combo in the freezer for a few hours and got a tasty treat. Once frozen I just broke it apart and put in air tight containers and put back in the freezer.

IMG_3230

Heres the recipe: https://m.facebook.com/story.php?story_fbid=1042263589159590&id=800616763324275&refsrc=http%3A%2F%2Fwww.buzzfeed.com%2Fchristinebyrne%2Fhealthy-three-ingredient-snacks&_rdr

Day 7: Cookie Dough Cheesecake

I was so exhausted last night I fell asleep at 9 pm! So day 7 is sort of a day late! But worth it I promise. I really didn’t have the right pan for this cheesecake but who the heck doesn’t love some cheesecake. When I think about cookie dough cheesecake, I think about the mouth watering cheesecake factory, how delicious it is and also how it kinda gives me a stomachache because nothing is gf.

I lined my pie pan with gluten free pre-made cookie dough (from Winco). Then mixed three 8 oz. softened cream cheese and 1 cup sugar until fluffy. Followed by 1 cup sour cream, 1/2 teaspoon vanilla, and 3 eggs-mixing throughly after each egg. Poured in the pie pan. I chose of course to use the optional extra cookie dough balls in the cheesecake. I dropped several 1 inch balls in the cheesecake. Thats always my favorite part in Cheesecake Factory’s cookie dough cheesecake! Gobs of cookie dough galore….mmmm…

IMG_3219

But it didn’t exactly make post baking as delectable as before.

I popped the cheesecake in the oven for an hour at 350 degrees.

IMG_3224

But hey I’m not perfect and this was my first cheesecake, so not too bad! It’s chilling overnight and hopefully I can get it to look closer like the picture haha!

*UPDATE*- The cheesecake was a smash hit! I brought it for my sister-in-law’s birthday party and everyone loved and raved about it! I will definitely make this again. No one could tell it was gluten free, and I feel like that is always a bonus, because the general consensus is people think GF is gross. 

DSC00939

Here’s the recipe: https://www.buzzfeed.com/hannahwilliams/this-cookie-dough-cheesecake-will-literally-melt-in-your-mou?utm_term=.ttgjqb9aA&sub=4161444_8041309#.mawx0QDEb


Day 6: Blackberry Vodka Mojito

If you give a Park a cocktail shaker you can’t expect she isn’t going to learn every possible way to use it and every recipe. My mom gave me a mini shaker a few years ago in hopes of curbing my alcohol intake. Ha! She told me that it was a better size than the one I had been using (a regular full size). Not that I’m a crazy drinker but when I lived with them and was 21…I would come home after a long day and make myself something delicious.

I put my cocktail shaker and my soda stream to good use tonight. My boyfriend got me a soda stream for my birthday even though I asked for a nintendo…still waiting on that nintendo… Actually the soda stream has been pretty fun!

I chose to make this recipe of blackberry vodka mojito http://www.seasonalcravings.com/easy-blackberry-vodka-mojito/

It is quite refreshing, delicious and perfect for summer.

This is kind of a 2-in-1 post because I needed to make simple syrup for this recipe and that was new to me as well. I used this simple syrup recipe http://growingupgabel.com/simple-syrup/ . In a saucepan I combined one cup water, one cup sugar and brought to medium heat and waited until the sugar was dissolved. Then I took off heat and put into mason jars.

For the actual cocktail I muddled 1 teaspoon simple syrup, 4 blackberries and 6 mint leaves in my glass. Then put in the juice from one lime and 2 oz vodka. I poured into my cocktail shaker and shook it like T. Swift.

I poured in in my glass, added seltzer and blackberry and mint for garnish. Mmmmmm!!

Day 5: Gold leaf

I think golf leaf is so beautiful. I saw this post http://sayyes.com/2014/02/diy-gold-leaf-vase.html on Pinterest, which is my inspiration obviously and went to Craft Warehouse (which is less than a mile from my apartment, trouble I know). I bought gold leaf and 2 coatings, one adhesive and the other a top coat.

IMG_3189

This was originally a project my sister and I were planning to do together but she is in NH for the summer and is a busy bee regardless 🙂

First I applied the adhesive to my large mason jars and waited for it to get tacky, and almost dry. Then I began applying the gold leaf, which is incredibly finicky if I might add. I mean obviously if you have touched gold leaf before it wilts to the touch, although if you know me I have generally constantly sweaty hands so thats probably a contributor, haha!

Apparently this is also something my boyfriend is a expert in as well. He offered to teach me designs but I was really only interested in the basic applying the frustrating gold leaf on the freaking mason jar. He showed me that if you took big pieces of gold leaf, like a whole sheet and applied it you would get less patchy looking work. On the second mason jar I did I used tape to make a border and held it in my hand like the picture below, so much easier to hold!

IMG_3192

Not the easiest craft, but really fun and creates beautiful vases. I’m glad I had two mason jars, because well practice makes perfect. Getting ready to apply the top coat now!

IMG_3194

The one on the left is my first try. I need to remove some of the golf leaf, I will post an update of the finished vases.

Day 4: Breadsticks

Ever since I bought the yeast packets for the cinnamon rolls I have been looking for different ways to use them. I really want to make bread but I need some different ingredients for that, so breadsticks it is!

I started with a entire yeast packet, mixed with 1 and 1/4 warm water, and 2 tablespoons brown sugar and let that boil, toil, and trouble for around 10 minutes (not really boil, just sit for 10 minutes). IMG_3182

Then I mixed in the 3 cups spelt flour, 1 teaspoon salt and 1/4 cup of olive oil into the mixture and created the dough. In step 2 of the original recipe there is something about adding additional water, but it wasn’t clear so I didn’t add any and found that I had to add extra flour to make the dough less wet. It needs to be similar consistency to pizza dough.

IMG_3183

I let this proof for a while, because my boyfriend is a pizza expert apparently (ok so he did manage and cook at several pizza restaurants in the past-so he is kind of an expert). But I might suggest following the directions for rolling out into 6 inch logs and letting sit for 1 hour instead to allow for a little more elasticity in your breadsticks.

IMG_3184

Then I brushed them with a combination of butter and olive oil and sprinkled garlic salt, Italian seasoning and parmesan cheese on top. Baked for 12 minutes and they are quite tasty, they needed another sprinkle with salt when they made it out of of the oven.

Vegan Garlic Herb Breadsticks with Marinara Sauce.

Day 3: Cinnamon Rolls

Tantalizing pictures of cinnamon rolls often fill my Pinterest feed, so today I decided to tackle them for the first time. I had no idea how easy they were, although I think the next time I make them I will substitute the frosting/glaze for something a little thicker. Maybe thats just my preference or what I’m used to from Cinnabon and cans of Pillsbury cinnamon rolls with that thicker frosting glaze. YUM!

I got to use my rolling pin, so you know it was a good day! I mixed the dough and substituted in spelt flour for regular flour and was happily surprised it worked so well. IMG_3177.JPG

Because I used spelt flour, my dough looks a little darker than it normally would. The recipe gives a tip to lightly grease the bowl while the dough is setting and I would definitely recommended that. As well as flouring the counter, which is just a precaution I have learned to take with any dough.

Then I mixed the brown sugar and cinnamon together and sprinkled it on the buttered dough. Notice my not even close to rectangle shape dough. HA!

IMG_3178

I some how missed the part about cutting into 9 pieces or something along those lines and made cinnamon rolls of all shapes and sizes. IMG_3179-1

I topped the cinnamin rolls with a glaze consisting of 1 tablespoon milk, 2 tablespoons coffee, and 1 cup powdered sugar. It was pretty good. I think my one tip would be to cook for 14 minutes instead of 15 minutes.

Heres the recipe I used:

Quick 45 Minute Cinnamon Rolls

Day 2: Chocolate Chia Pudding

I have not jumped on all the new trendy health foods bandwagon, but a few have peaked my interest and taste buds along the way. I have been wanting to try chia seeds for quite some time and I figured this was as good excused as any. This has been a big part of my Pinterest searching recently- finding a recipe or something that looked actually edible with this strange looking seeds. I found a really great recipe to quench my summer and chia seed thirst, all I needed was popsicle molds. I asked my boyfriend to pick some up at the store, and this is what he came back with:

IMG_3169

While these are all kinds of rad and I’m sure I will find a purpose for them later, I’m sadly going to have to do the popsicles another time.

Anyways, I rarely ever read the actual post prior to the recipe, but this particular popsicle post, which I will share at a later date got me really excited and interested in CHIA SEEDS! PARTY! Ok, so maybe not that entirely exciting.

I have been cooped up in the house all day, from what I will attribute to strep so I will go on and share. Since I got started on this pretty late in the day, I will have to see how they actually taste tomorrow because they have to set for 6 hours. Even though I’m not a fan of long wait times in recipes, I’m not sticking this is the freezer because I have no idea what will happen (creature from the black lagoon may perhaps appear).

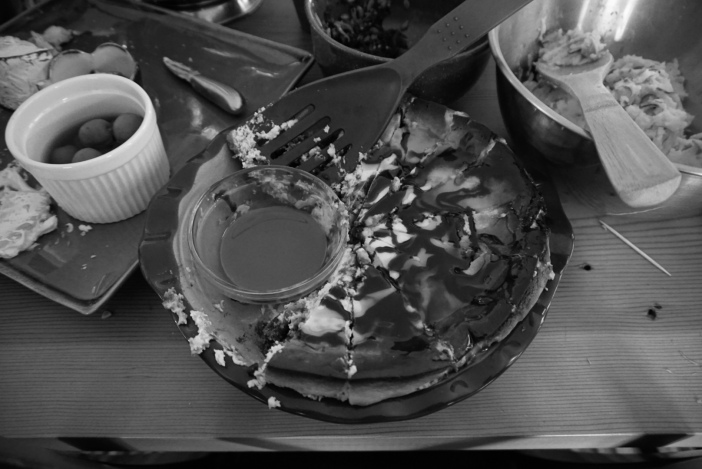
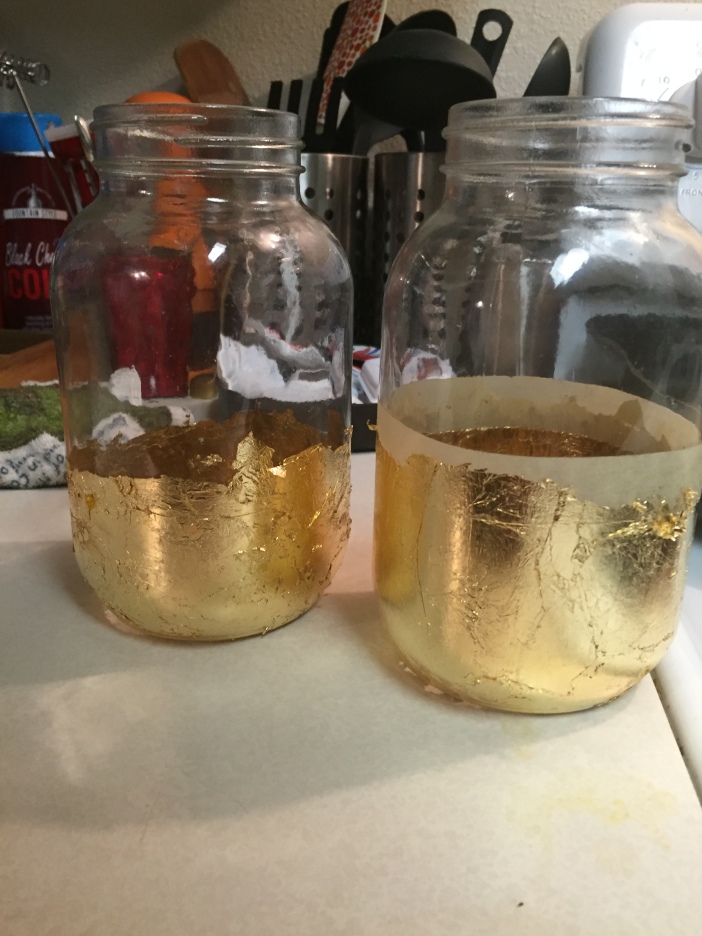
I mixed all the ingredients in a big glass bowl and poured into individual mason jars and topped with espresso covered cacao bits, which I realize wasn’t in the recipe, but I have to add my flair somewhere!

Recipe: http://ifoodreal.com/chocolate-chia-pudding-recipe/

*Update*-The pudding turned out pretty well for a first try. It was a little liquidy, but that small part was easy to pour out with a decent size left. It was actually quite good and certainly something I will experiment with again in the future.